Climber Design - Ultimate Ascent
FIRST 2013 Robotics Competition

Posted January 16, 2013

This design is available to any team.

Positive Feature List

Negative Feature List

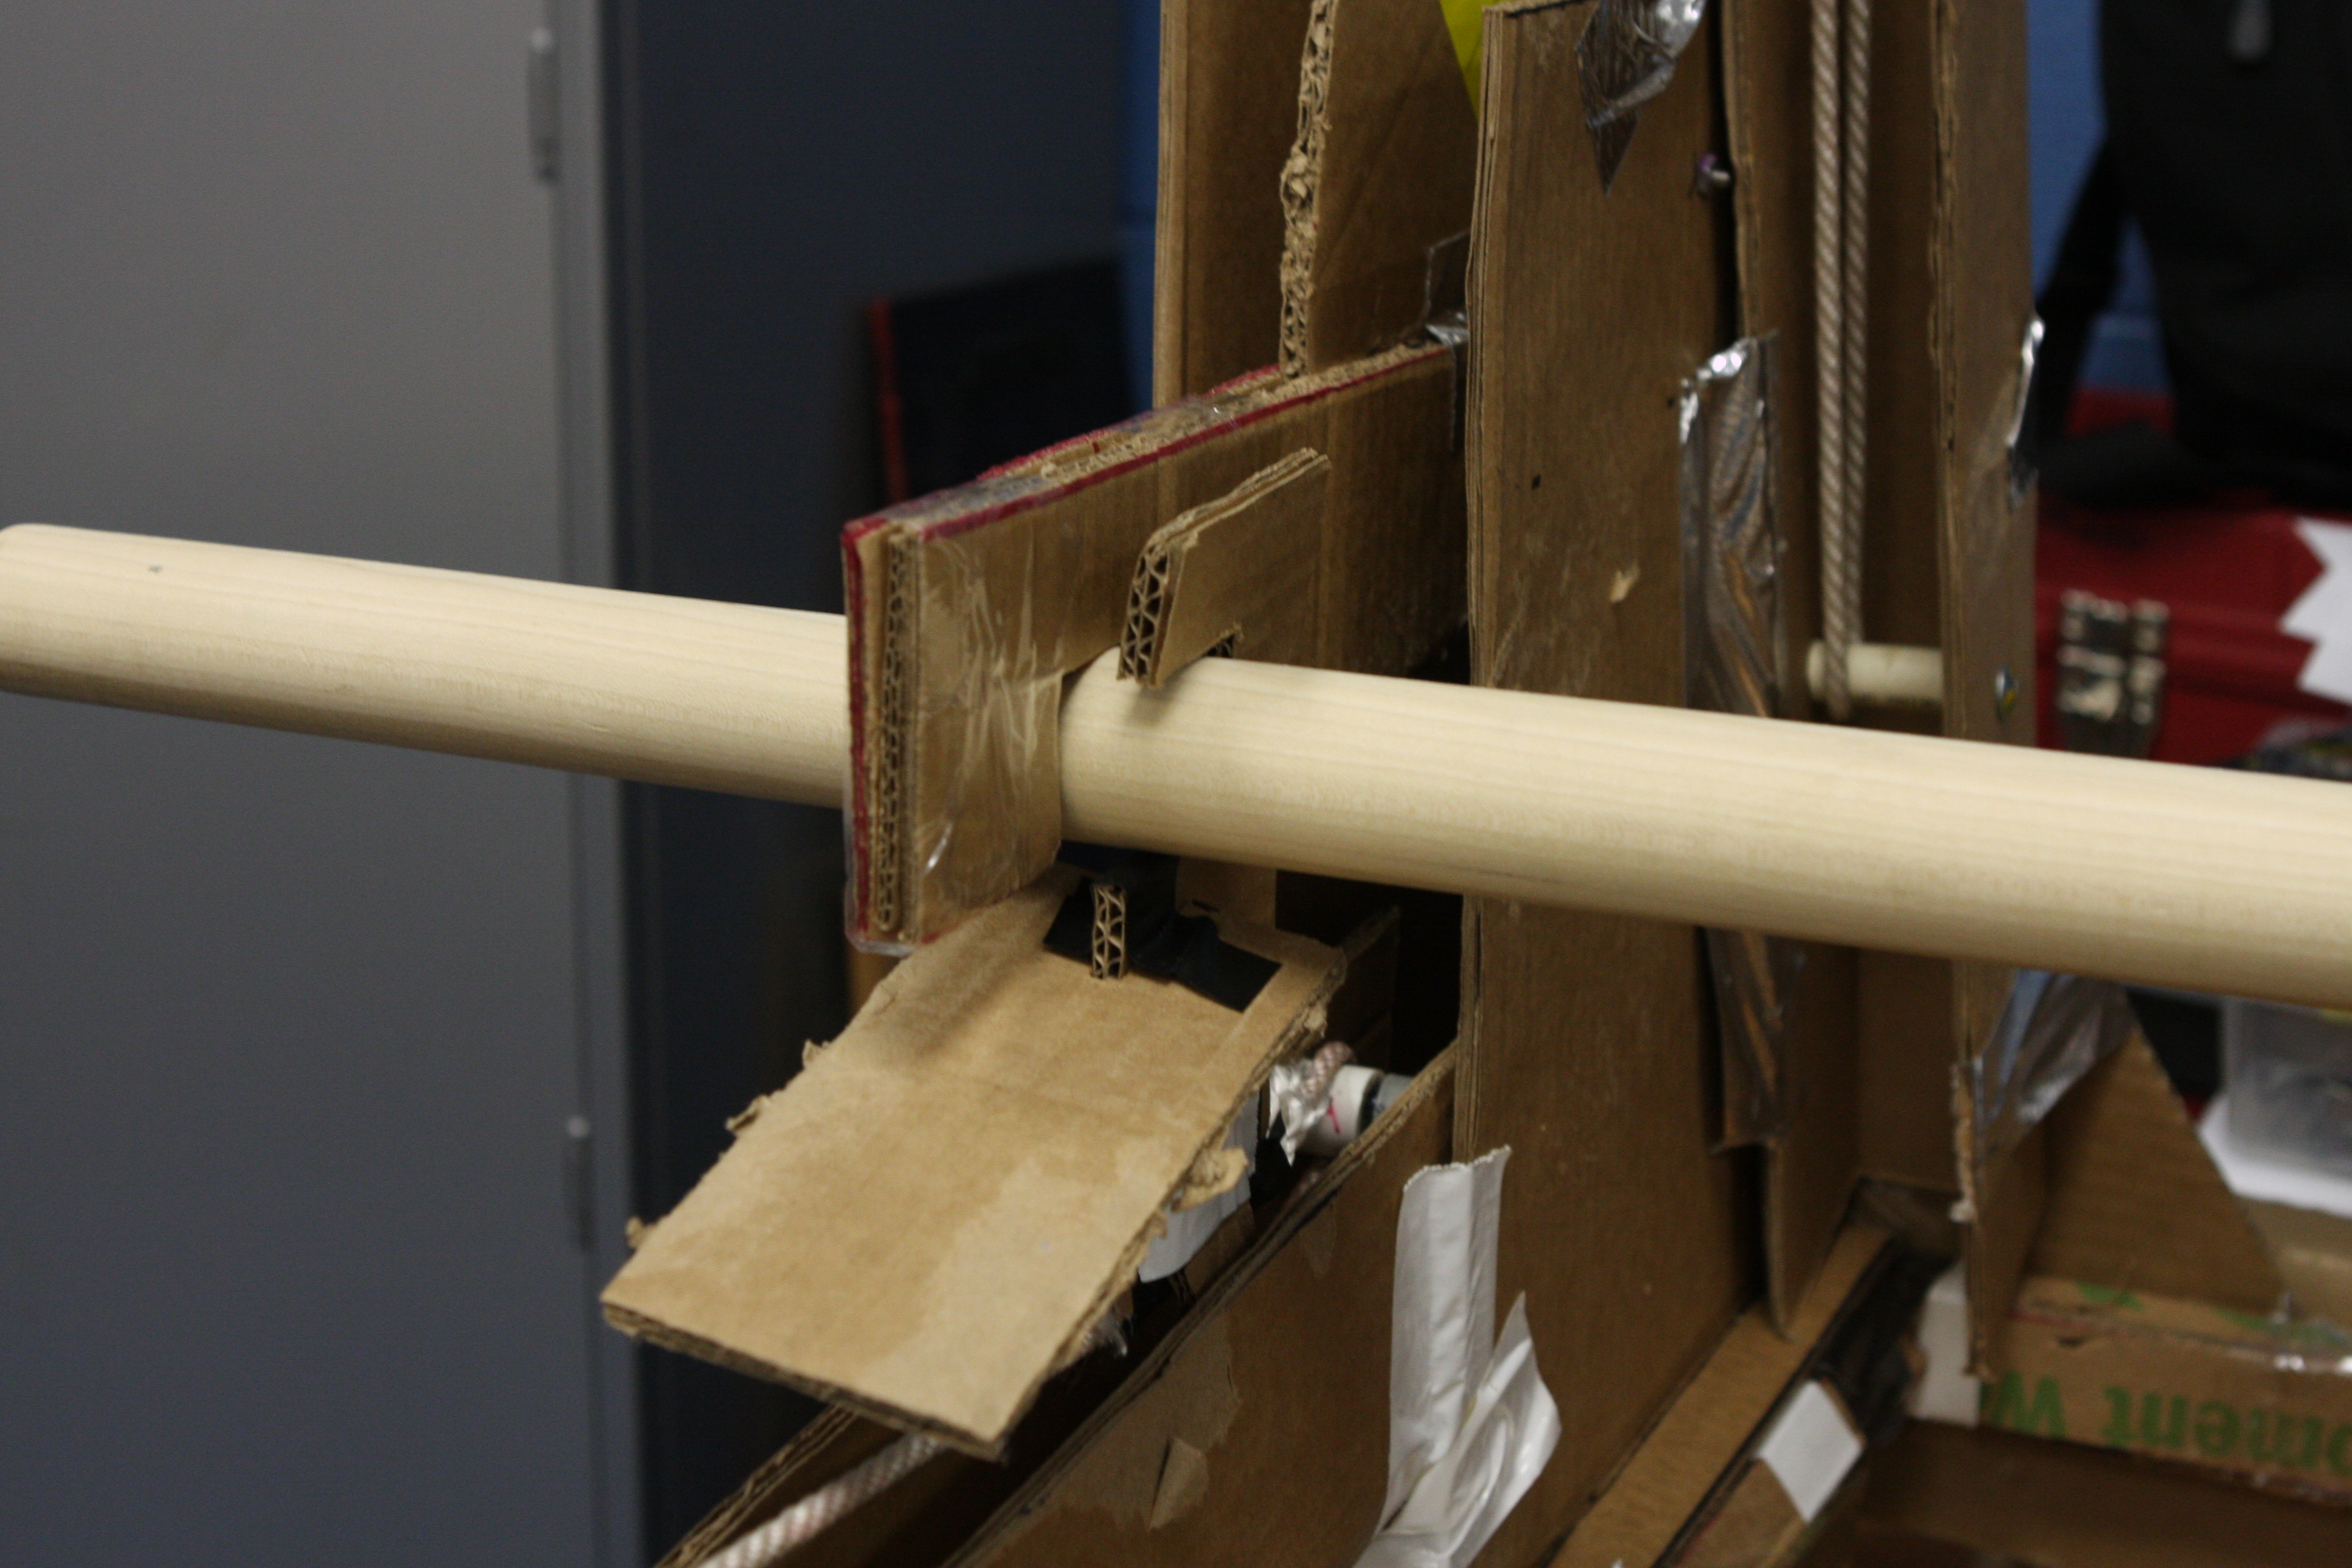
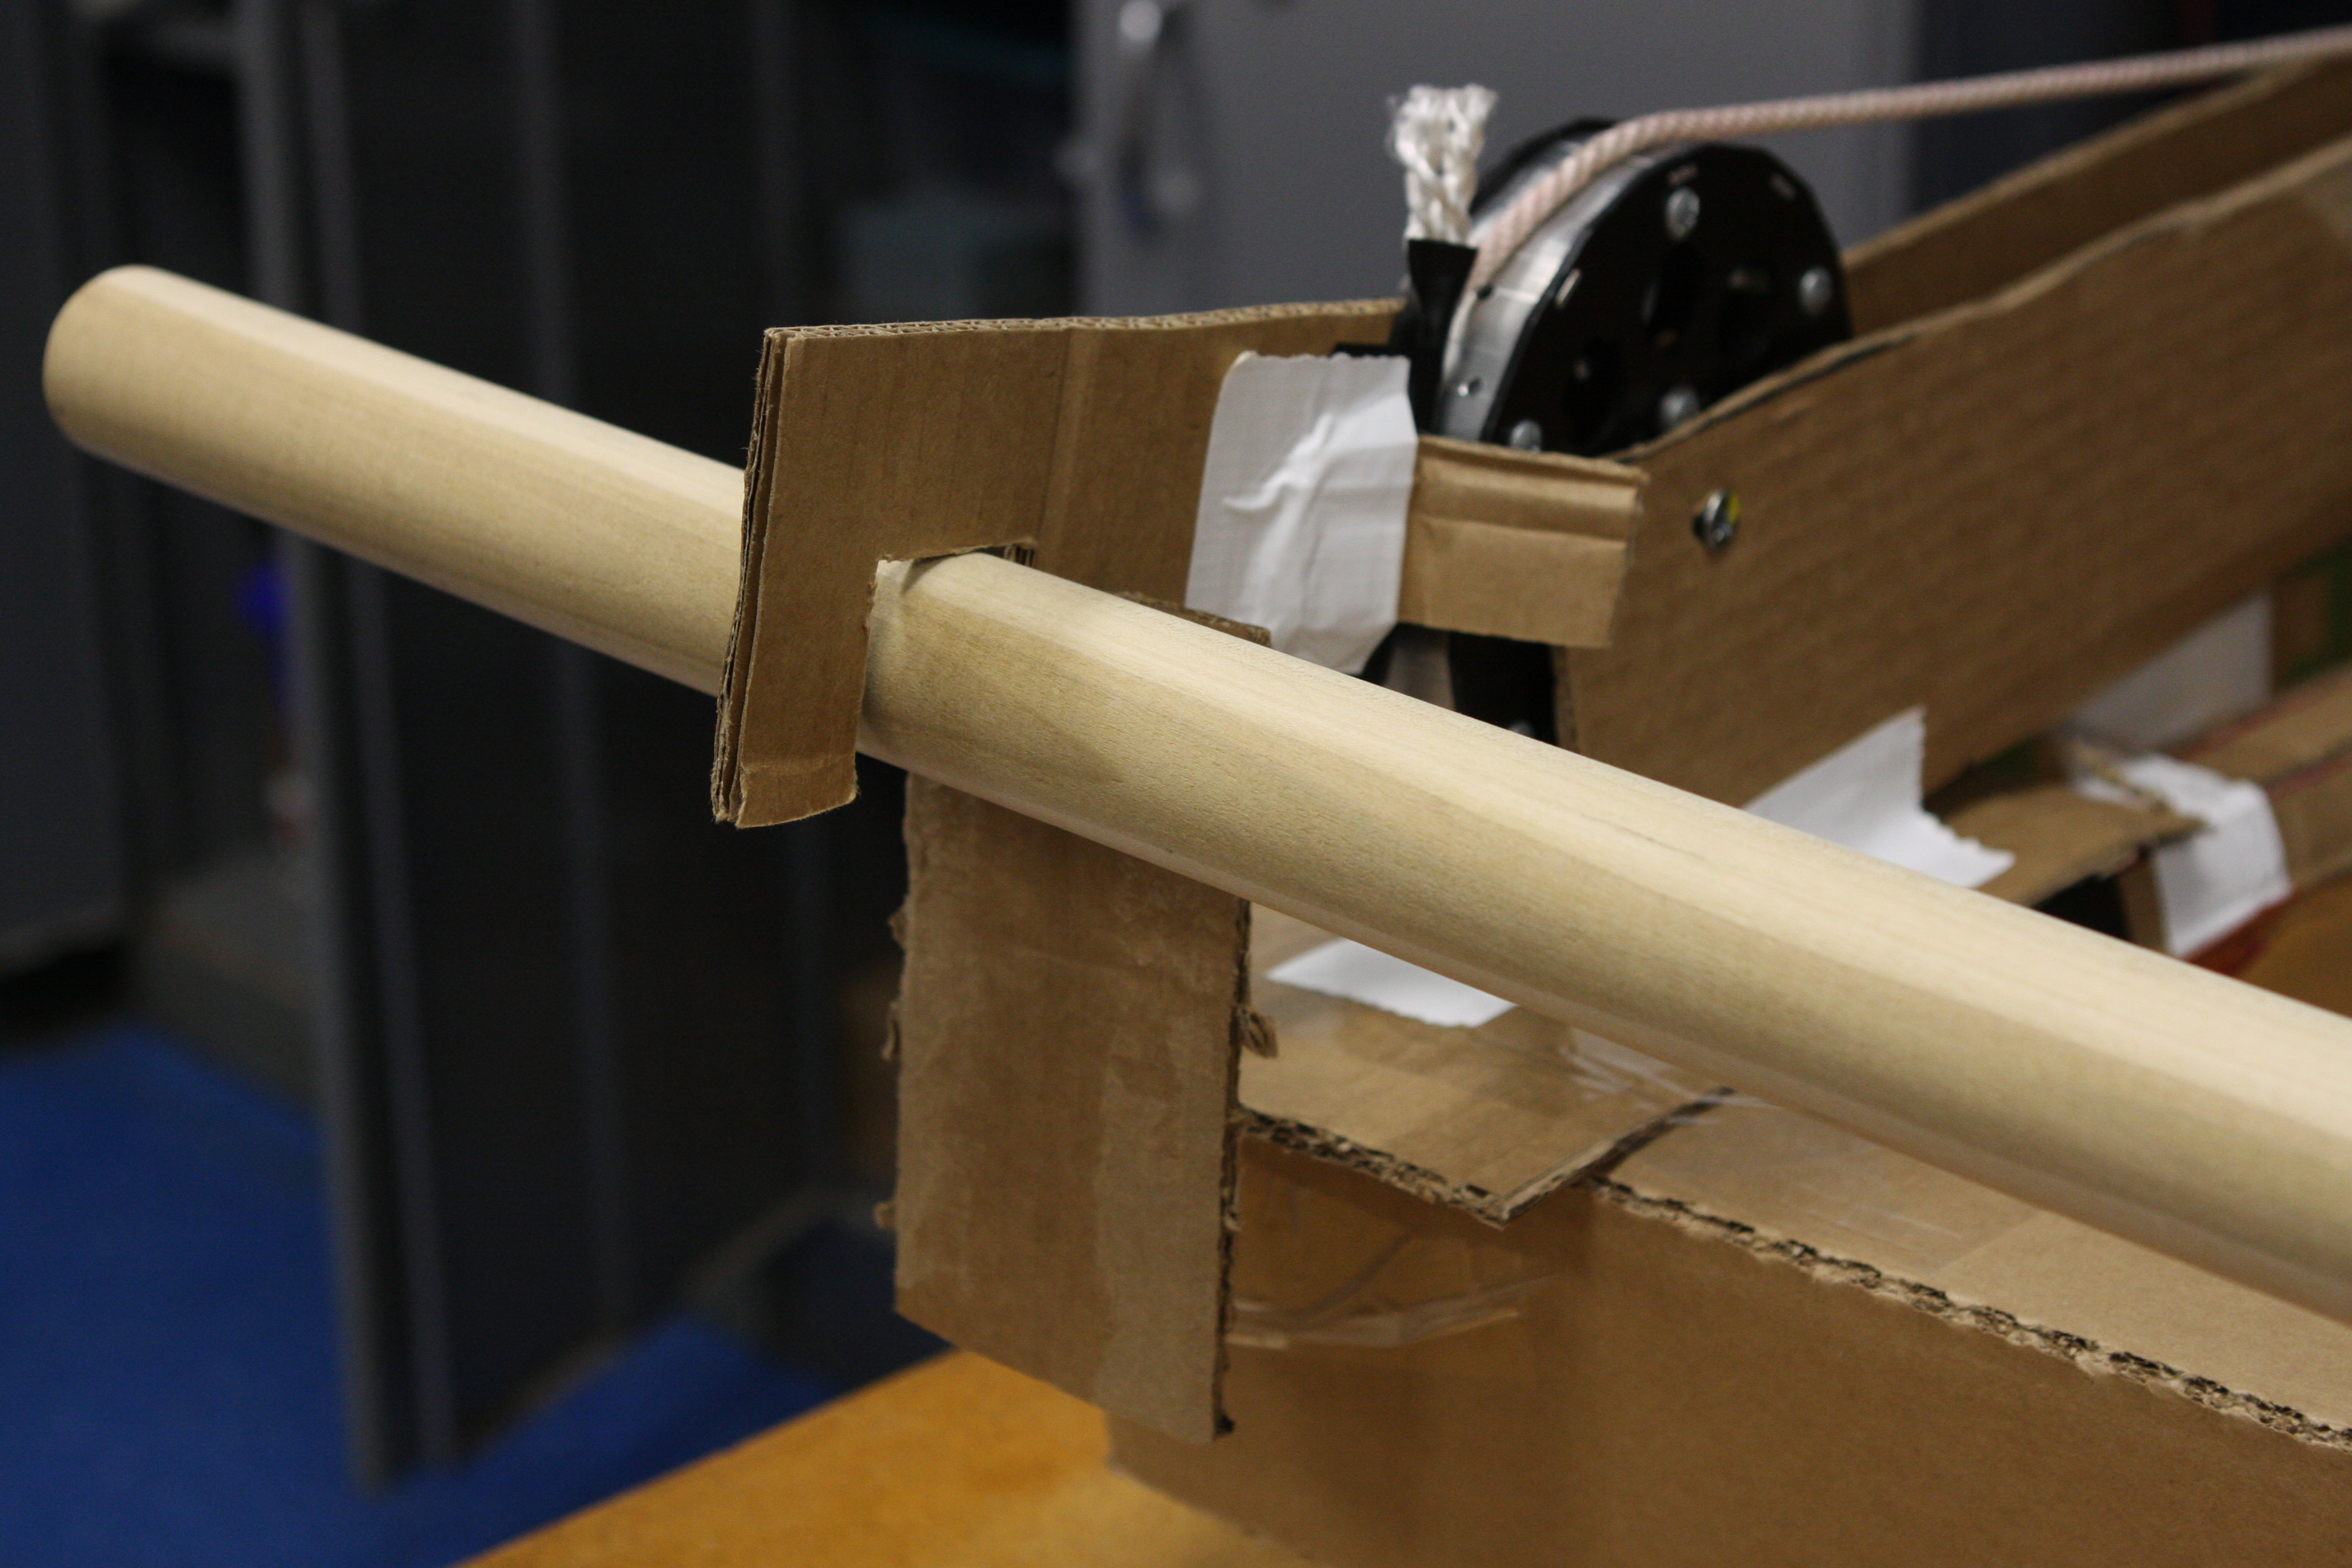
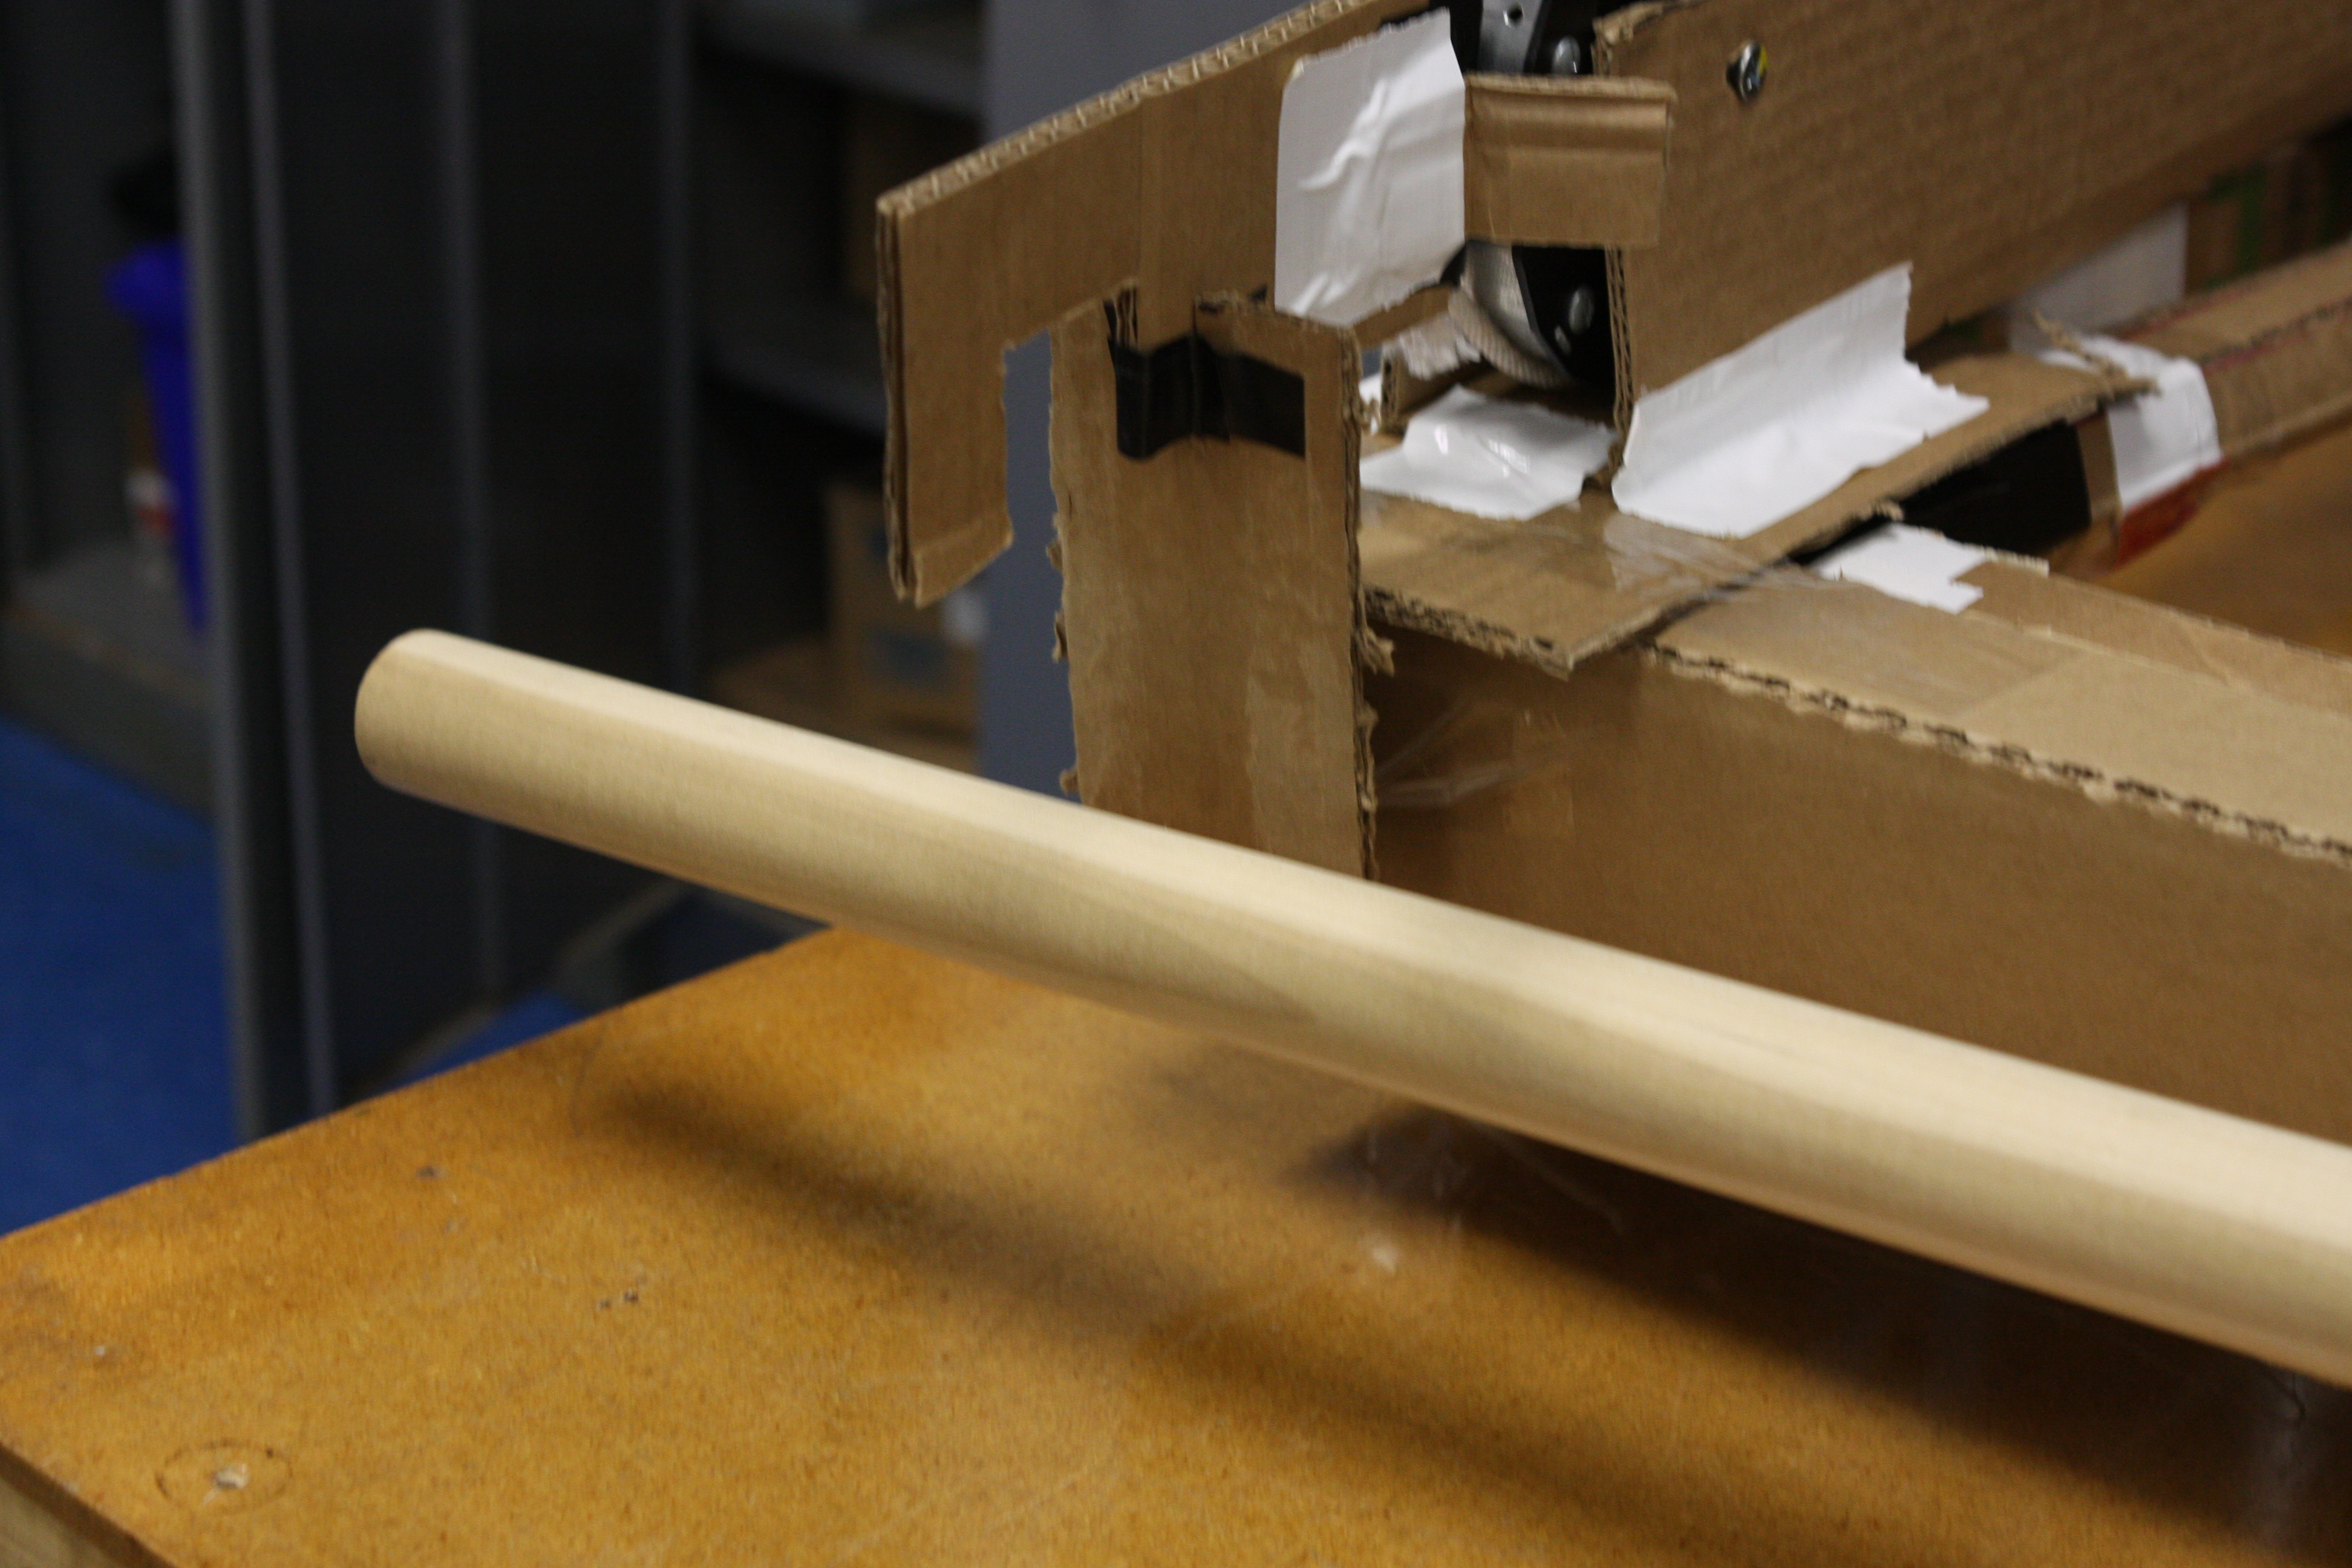
Step # 1 - The process begins with the Jump Arm in the vertical position. In this orientation the finger gripper will align with the bottom level pipe. Driving the robot to the pipe engages the gripper to the pipe.
Frame # 1
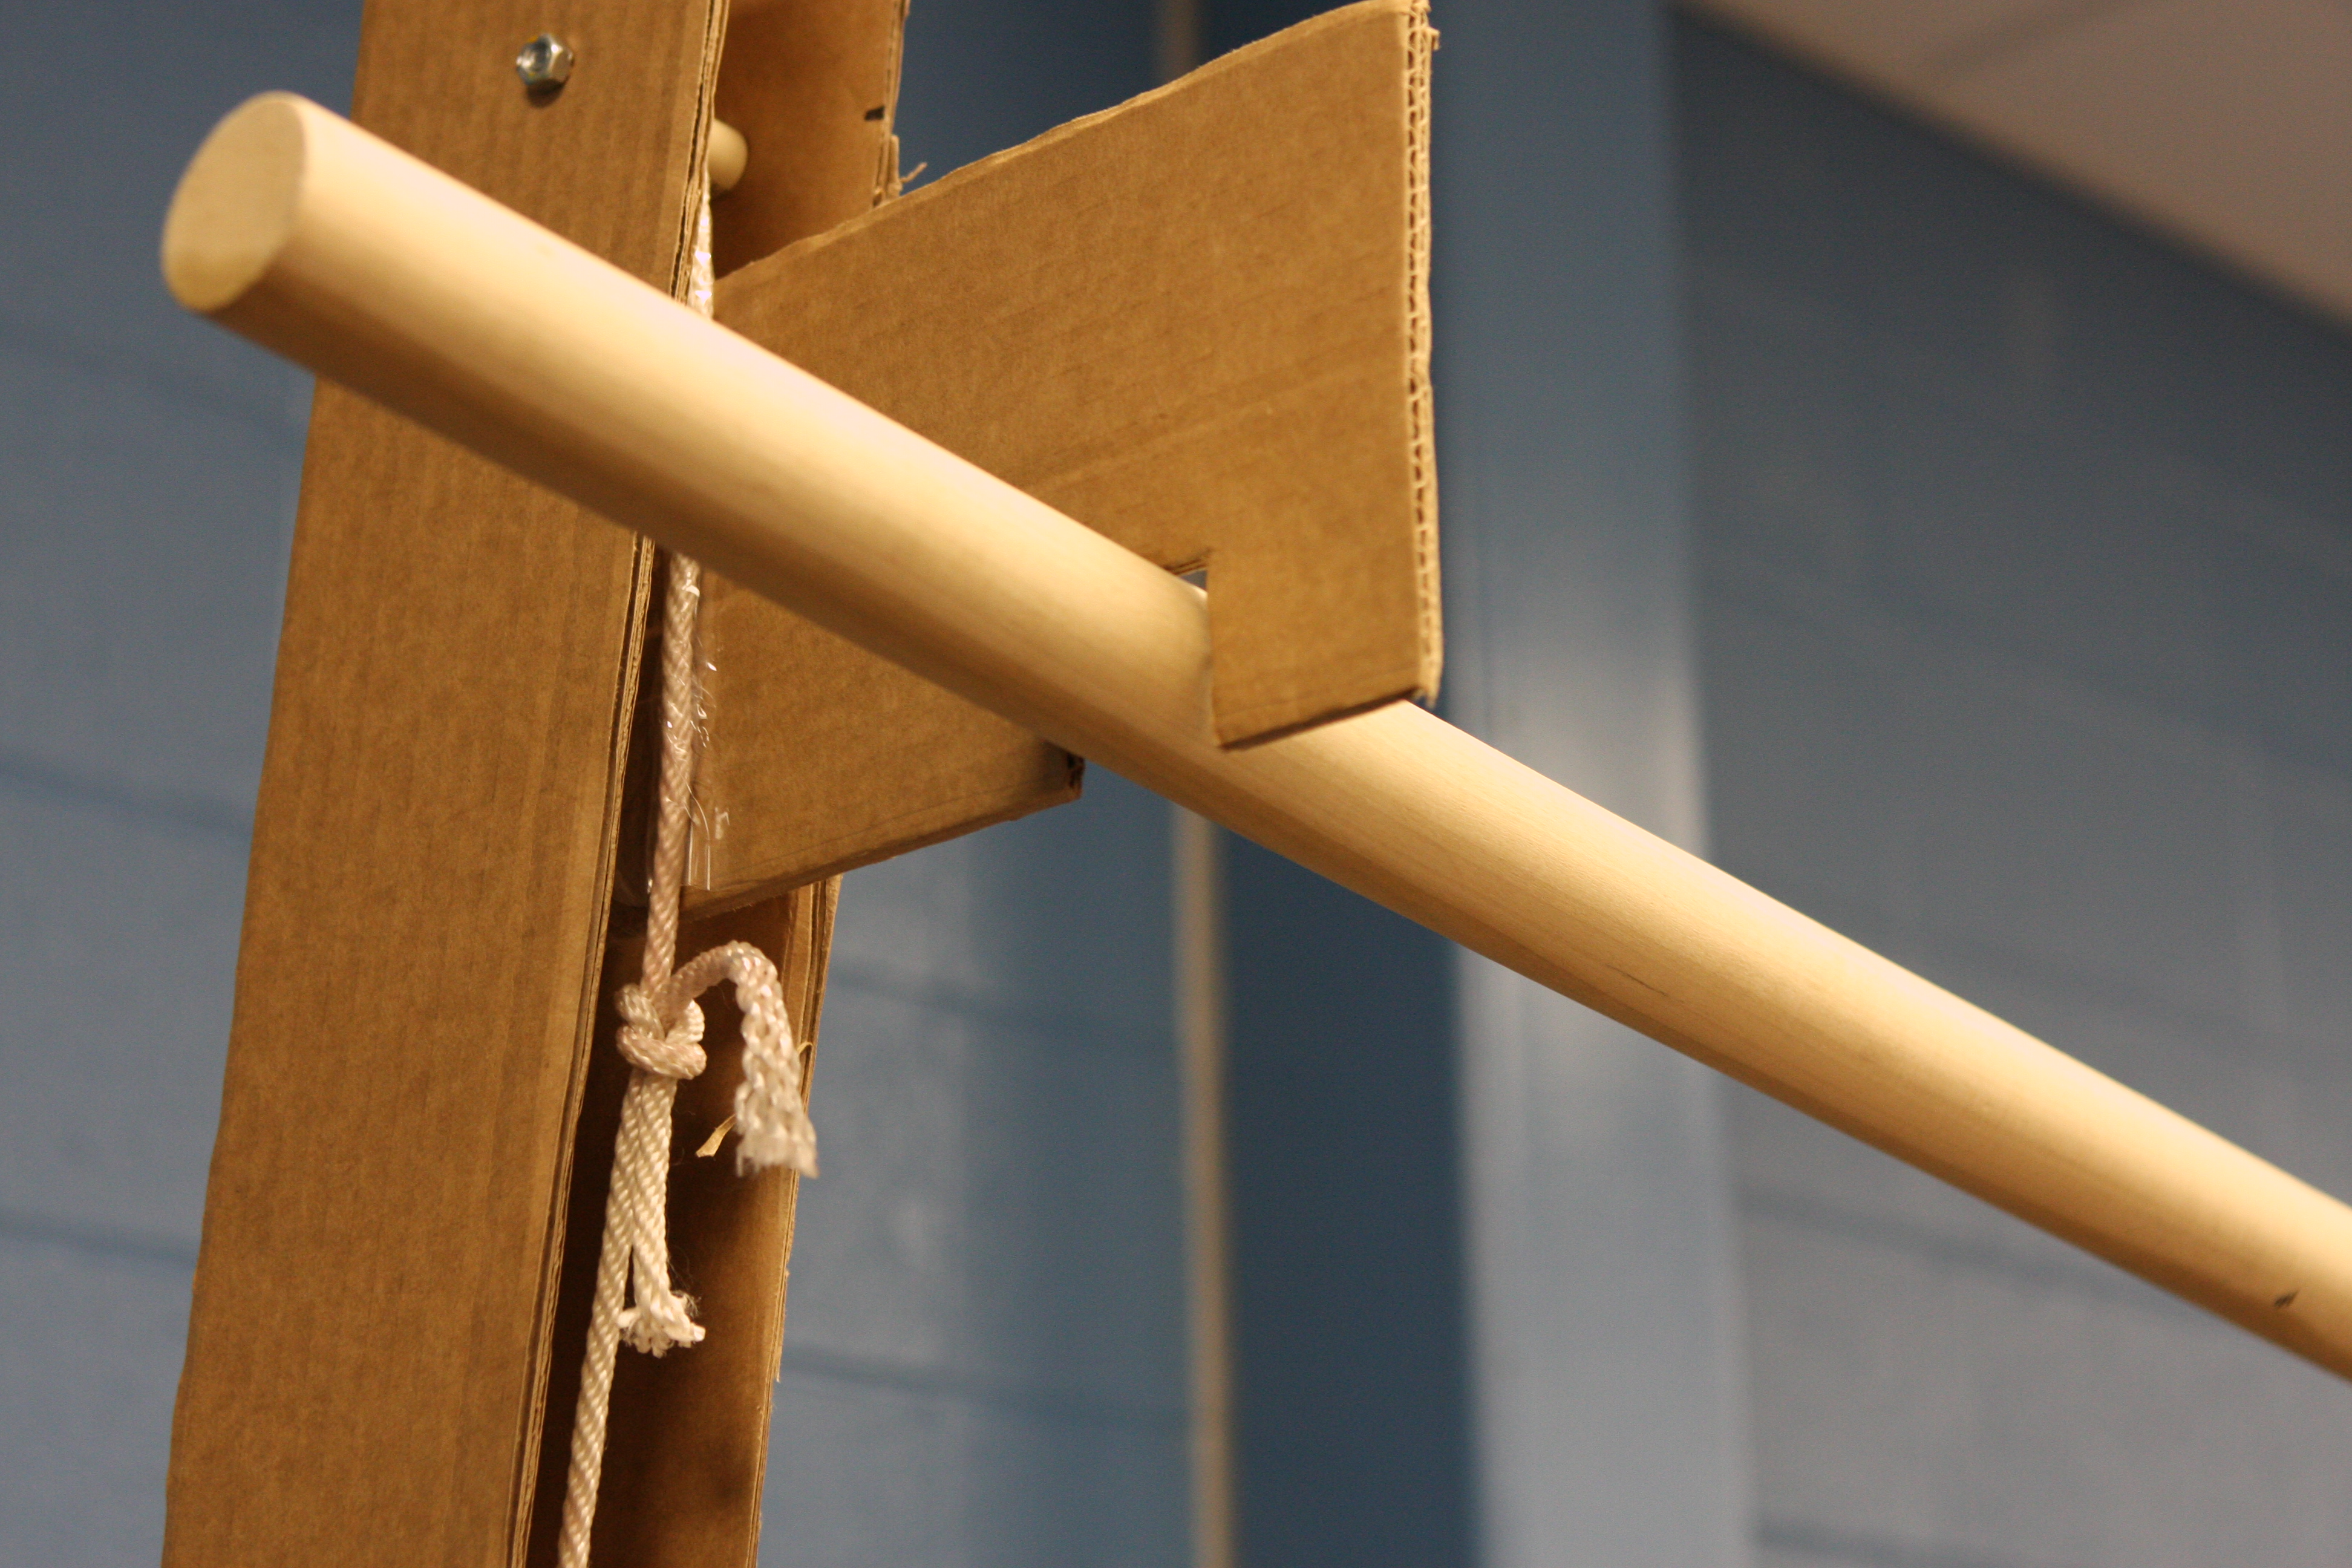
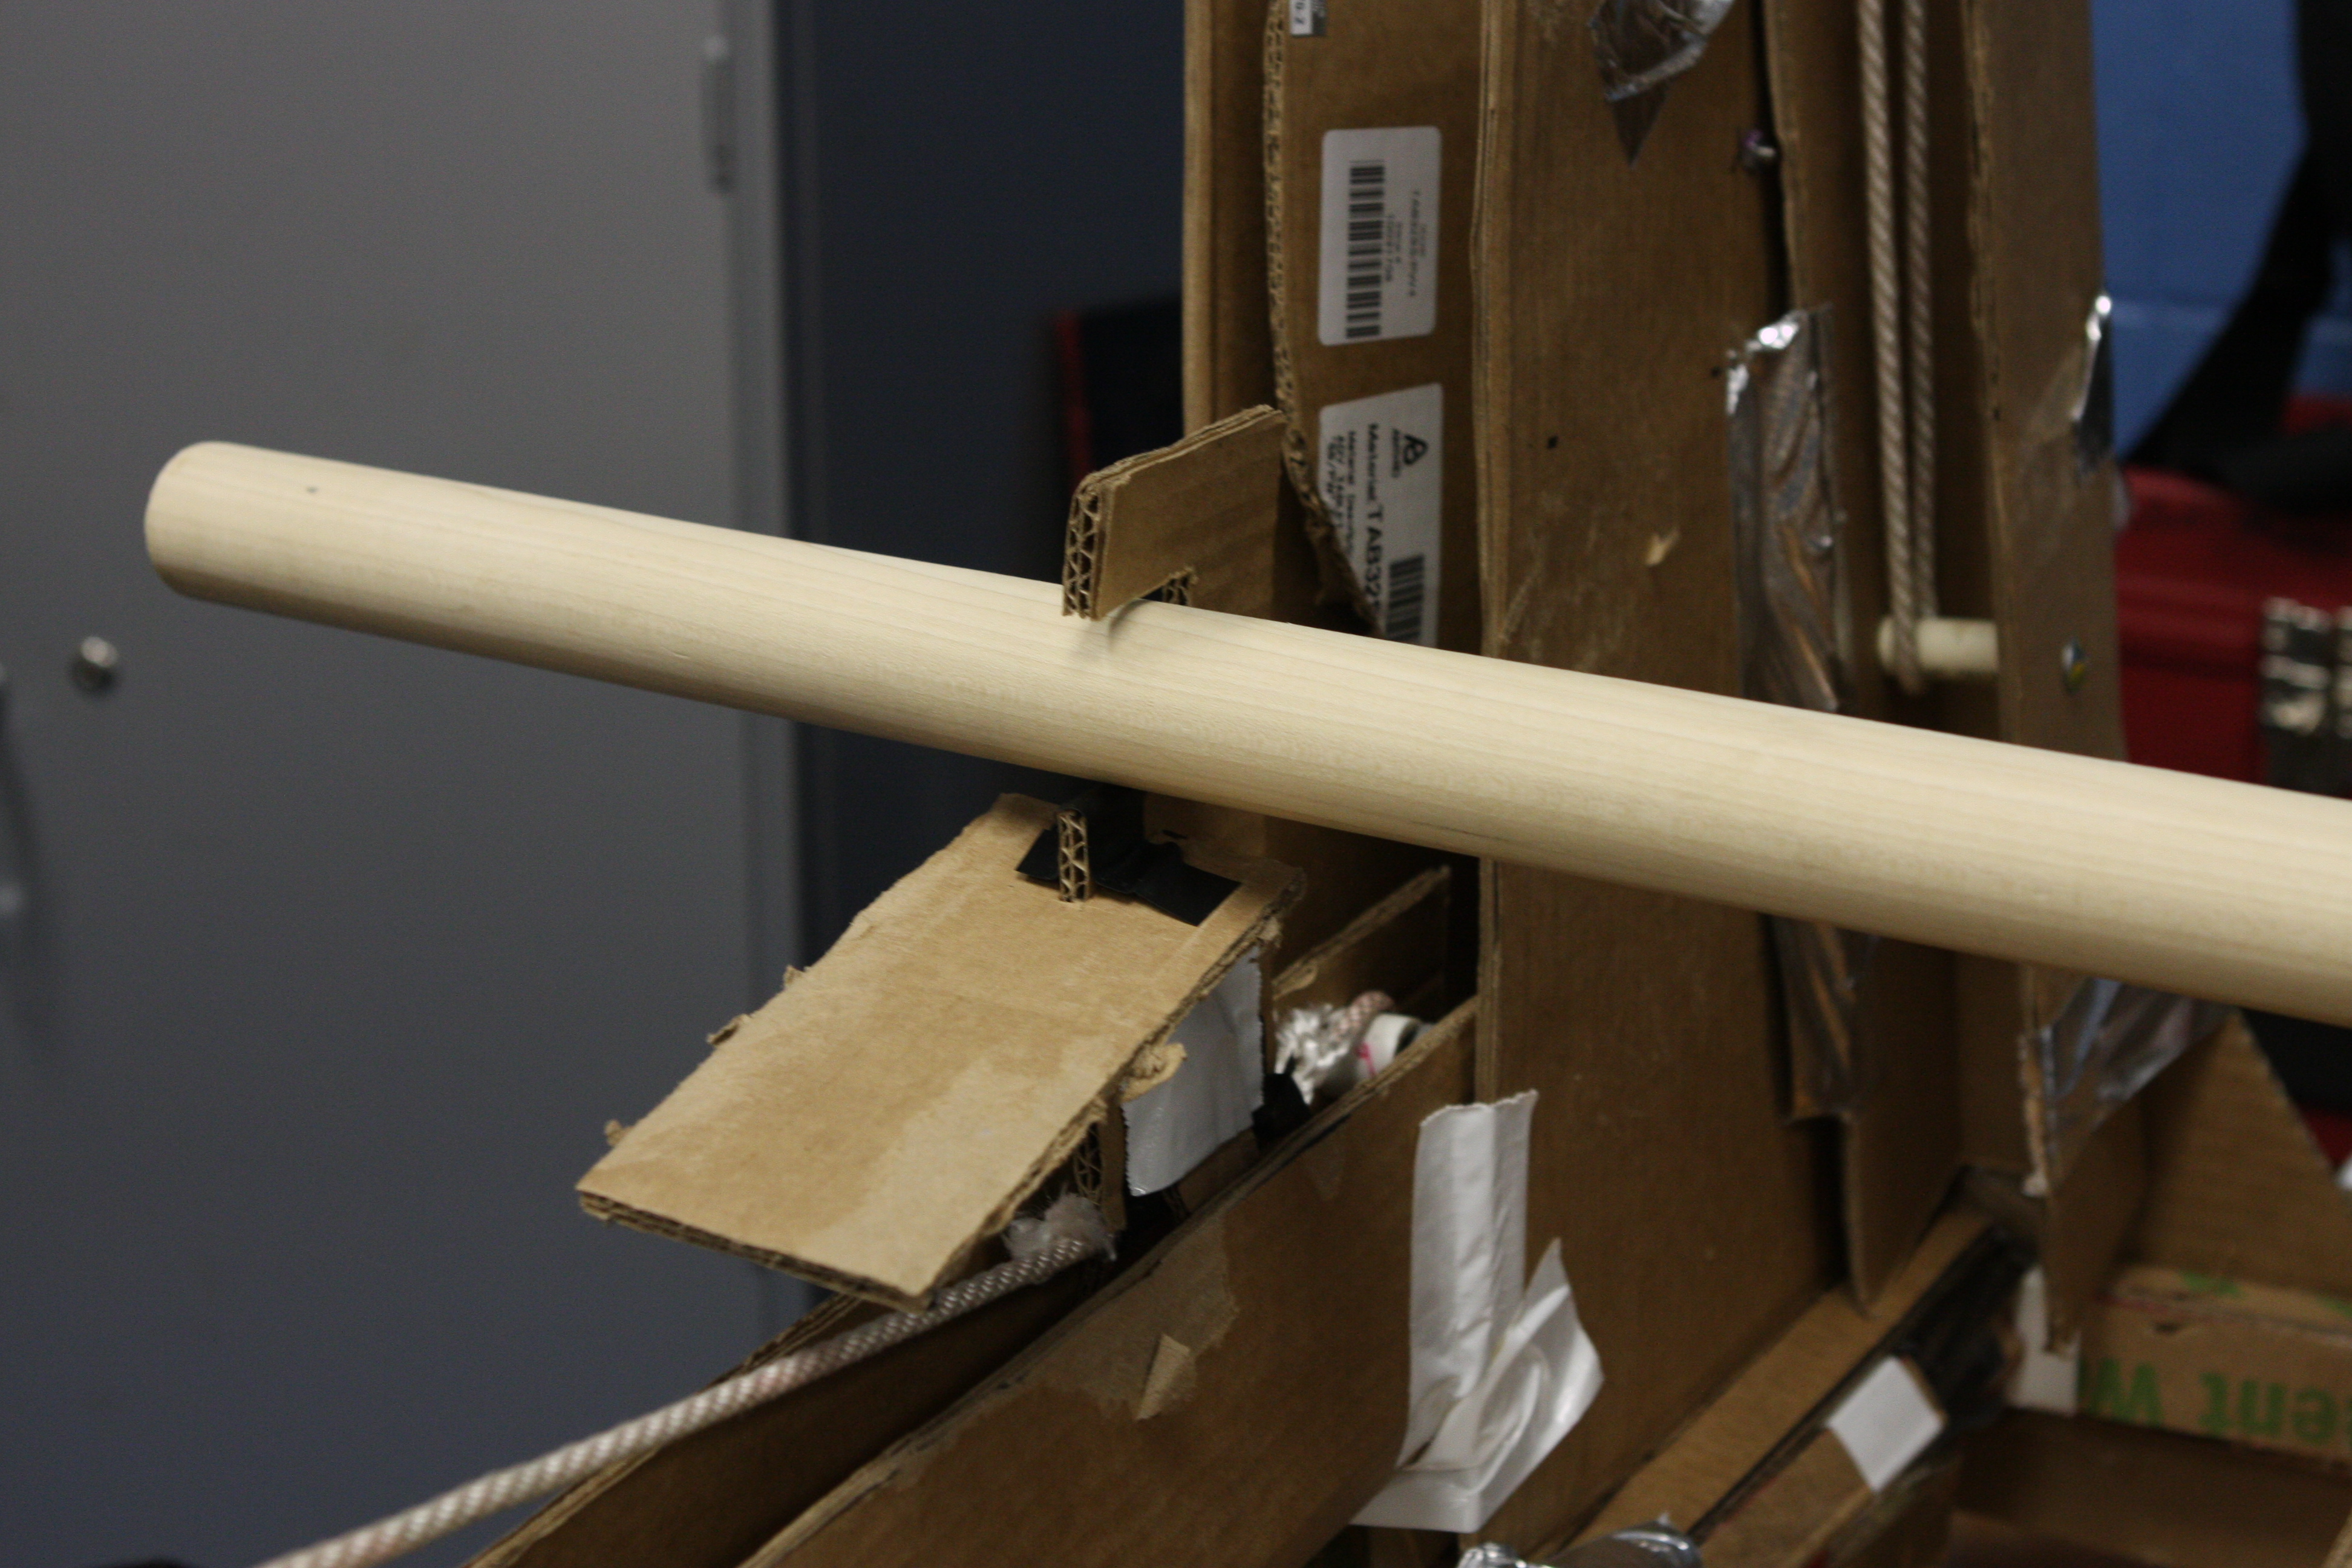
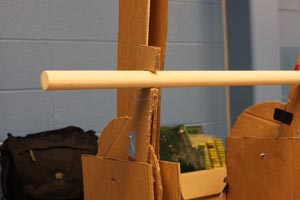
Step # 2 - The Jump Arm rotates raising the robot.
Frame # 2
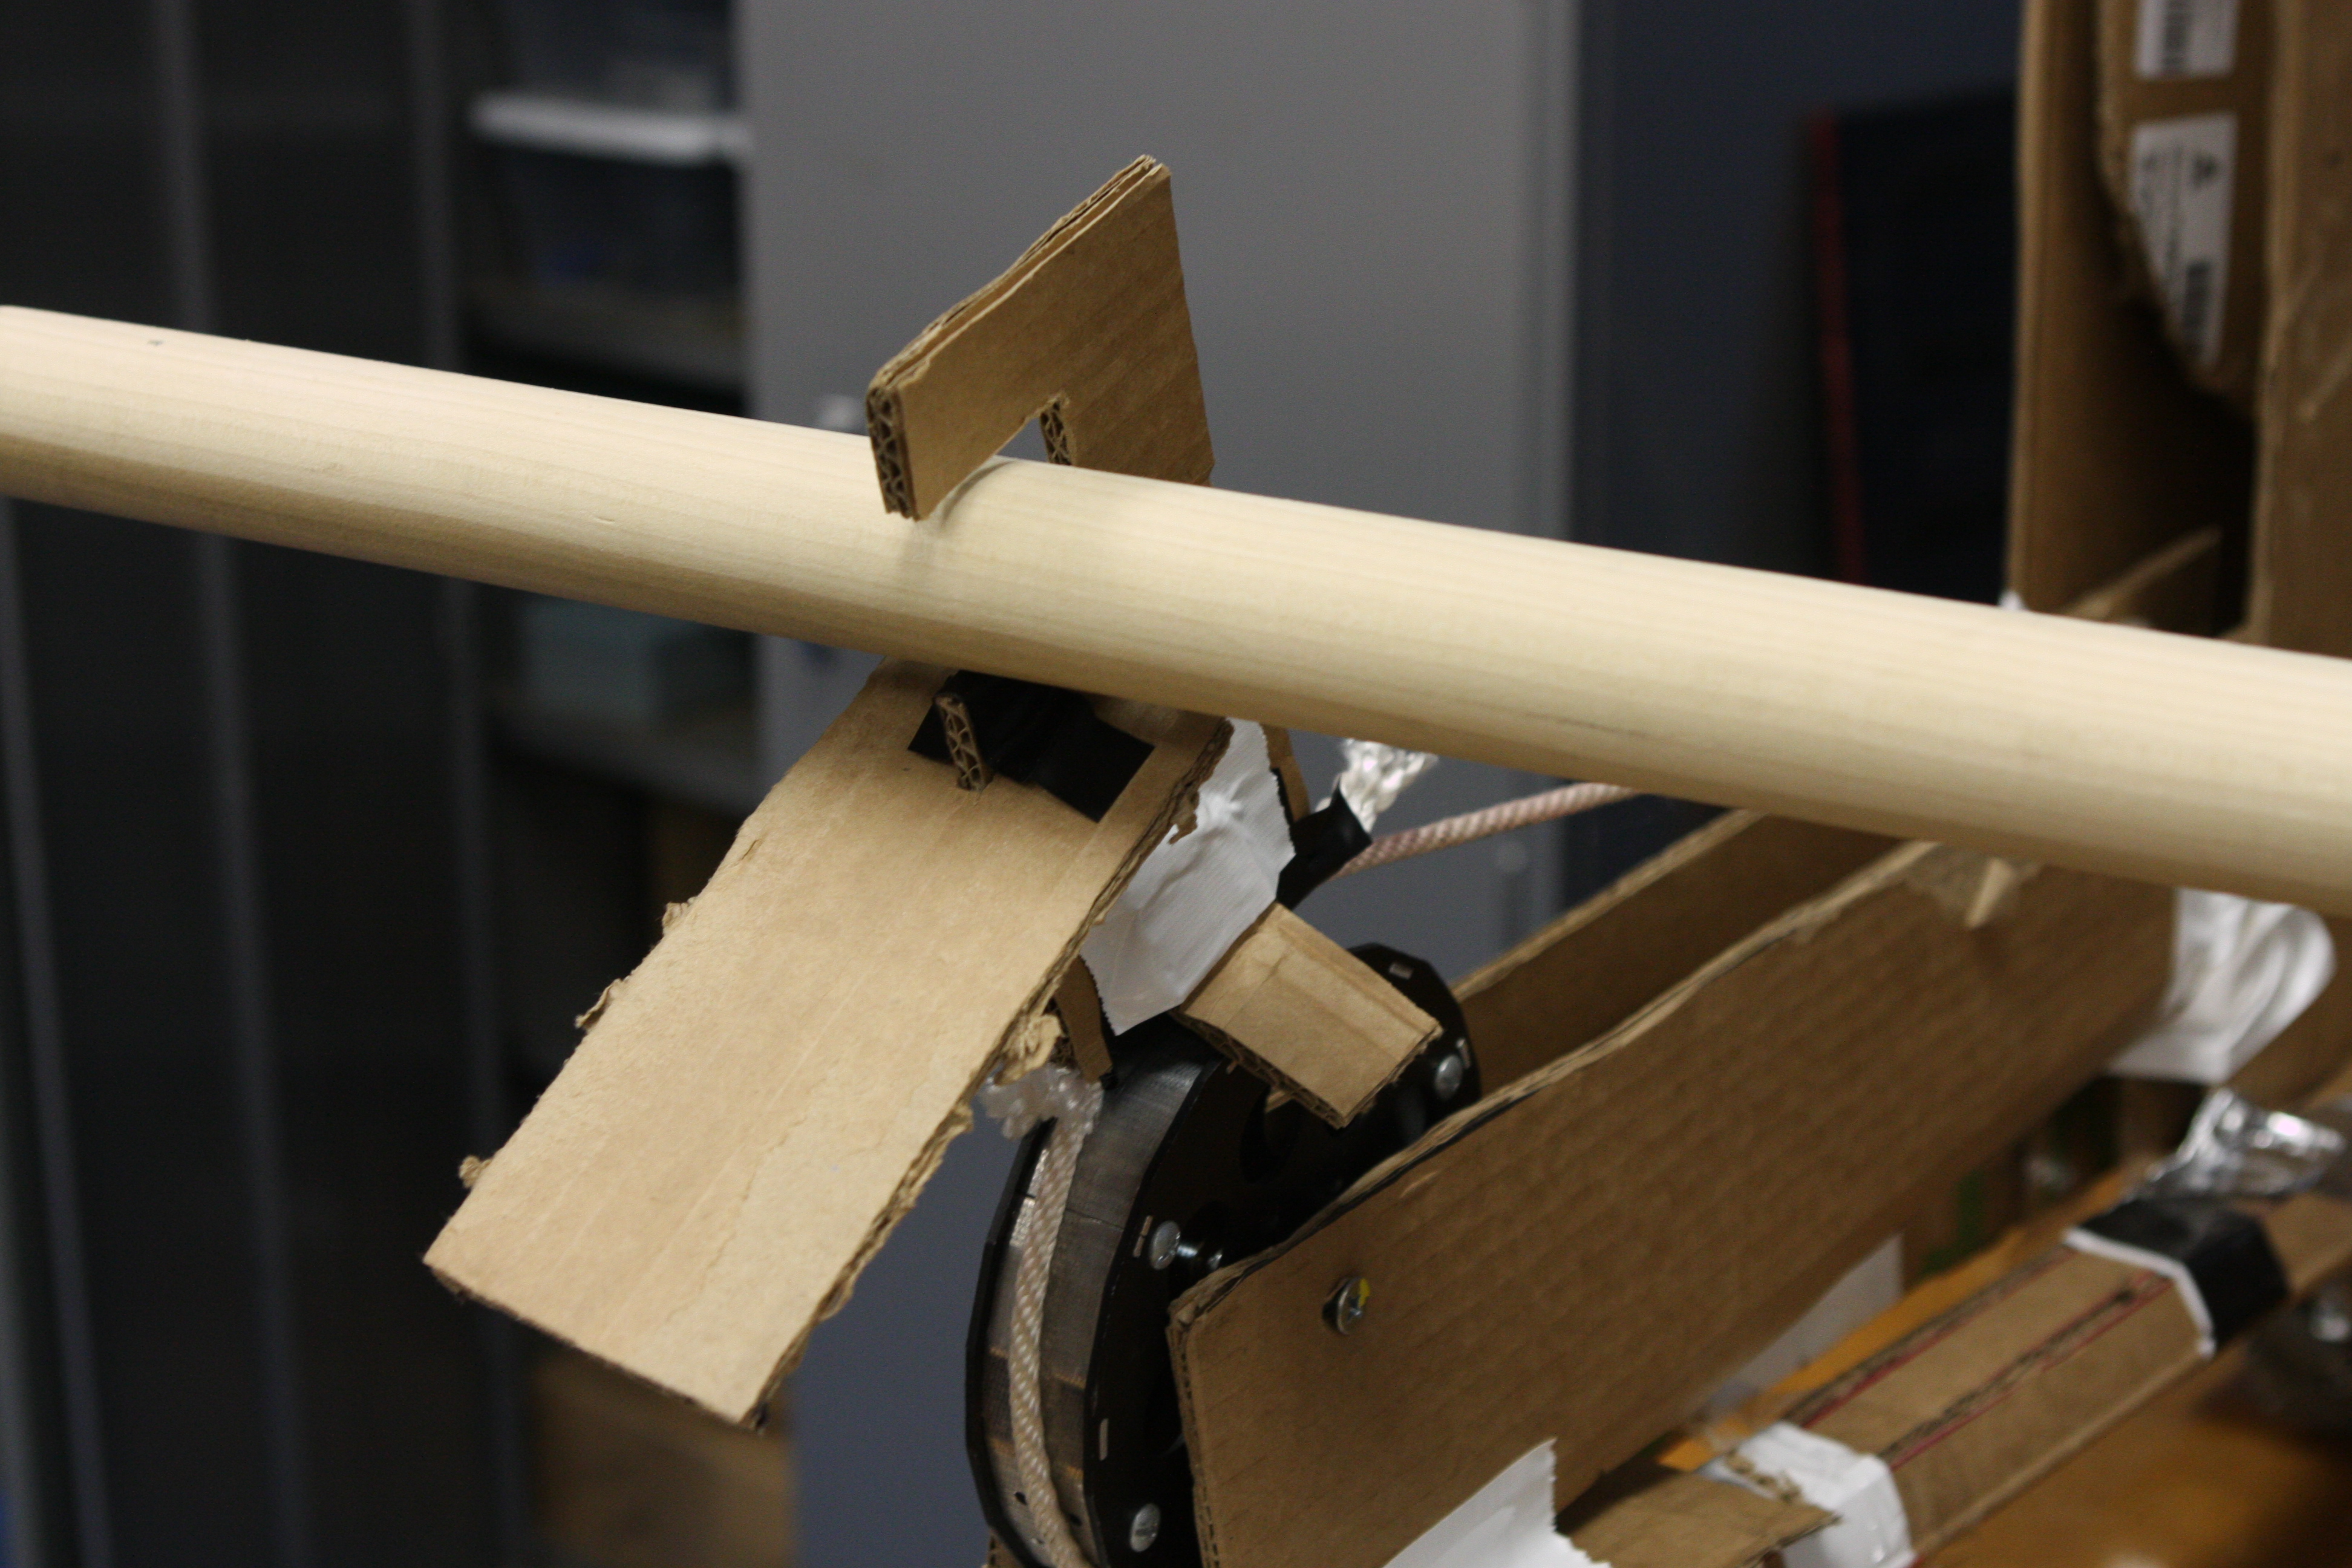
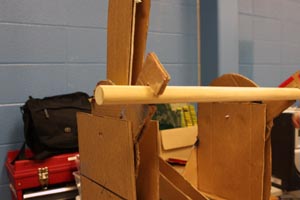
Step # 3 - When the Jump Arm has completed about 90 degrees of rotation, the robot is fully suspended and not touching the floor.
Frame # 3
Step # 4 - The Pusher Arm starts to extend. When the pusher fingers are fully engaged into the pipe it stops. This creates a very secure grip on the pipe.
Frame # 4
Step # 5 - The robot is now in a positioned to allow the Lift Arm to descend onto the next level pipe and engage the lift fingers.
Frame # 5
Step # 6 - When the load is transferred to the lift fingers the Jumper Arm retracts out of the way.
Frame # 6
Step # 7 - The Pusher Arm continues extending causing the robot to move away from the pipe.
Frame # 7
Step # 8 - As the Pusher Arm reaches the end of travel it begins to change orientation so that the pipe can clear the end of the robot.
Frame # 8
Step # 9 - When the Pusher Arm is fully extended it will be horizontal.
Frame # 9
Step # 10 - The new orientation of the pusher fingers will allow the pipe to disengage as it travels across the front bumper. The Pusher Arm has a guard that protects the bumper from excessive wear.
Frame # 10
Step # 11 - The Lift Arm continues to raise the robot by retracting the gripper.
Frame # 11
Step # 12 - As the lift arm continues the robot is elevated more.
Frame # 12
Step # 13 - When the lift arm gets to the correct position it stops.
Frame # 13
Step # 14 - The Jump Arm rotates to engage the pipe.
Frame # 14
Step # 15 - The Lift Arm retracts from the pipe. The cycle is complete and ready to climb the next level.
Frame # 15